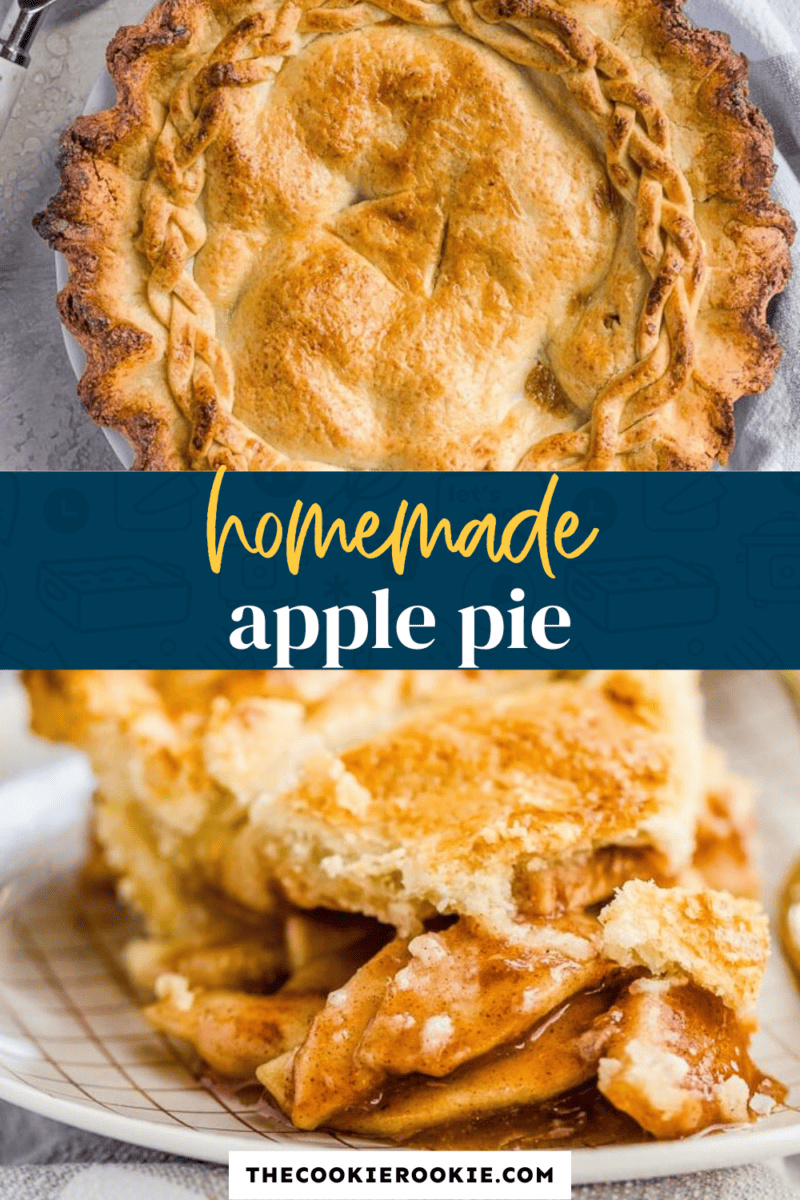
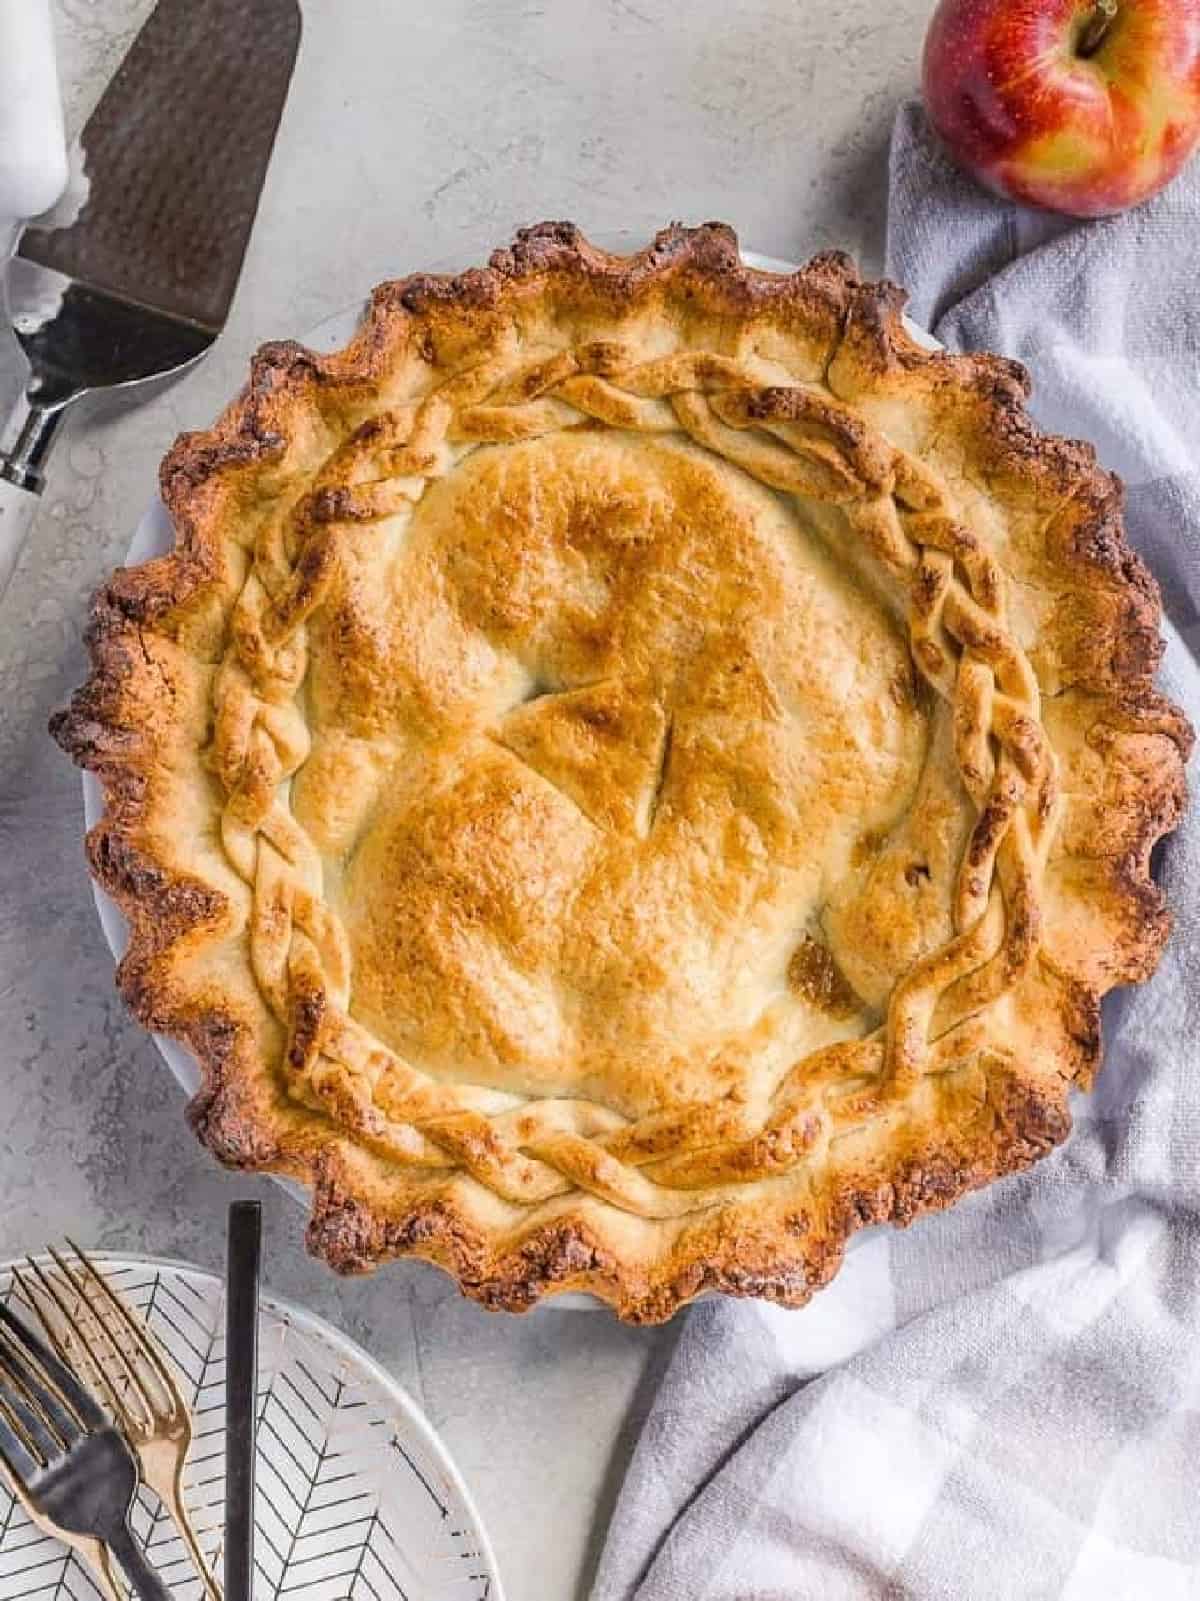
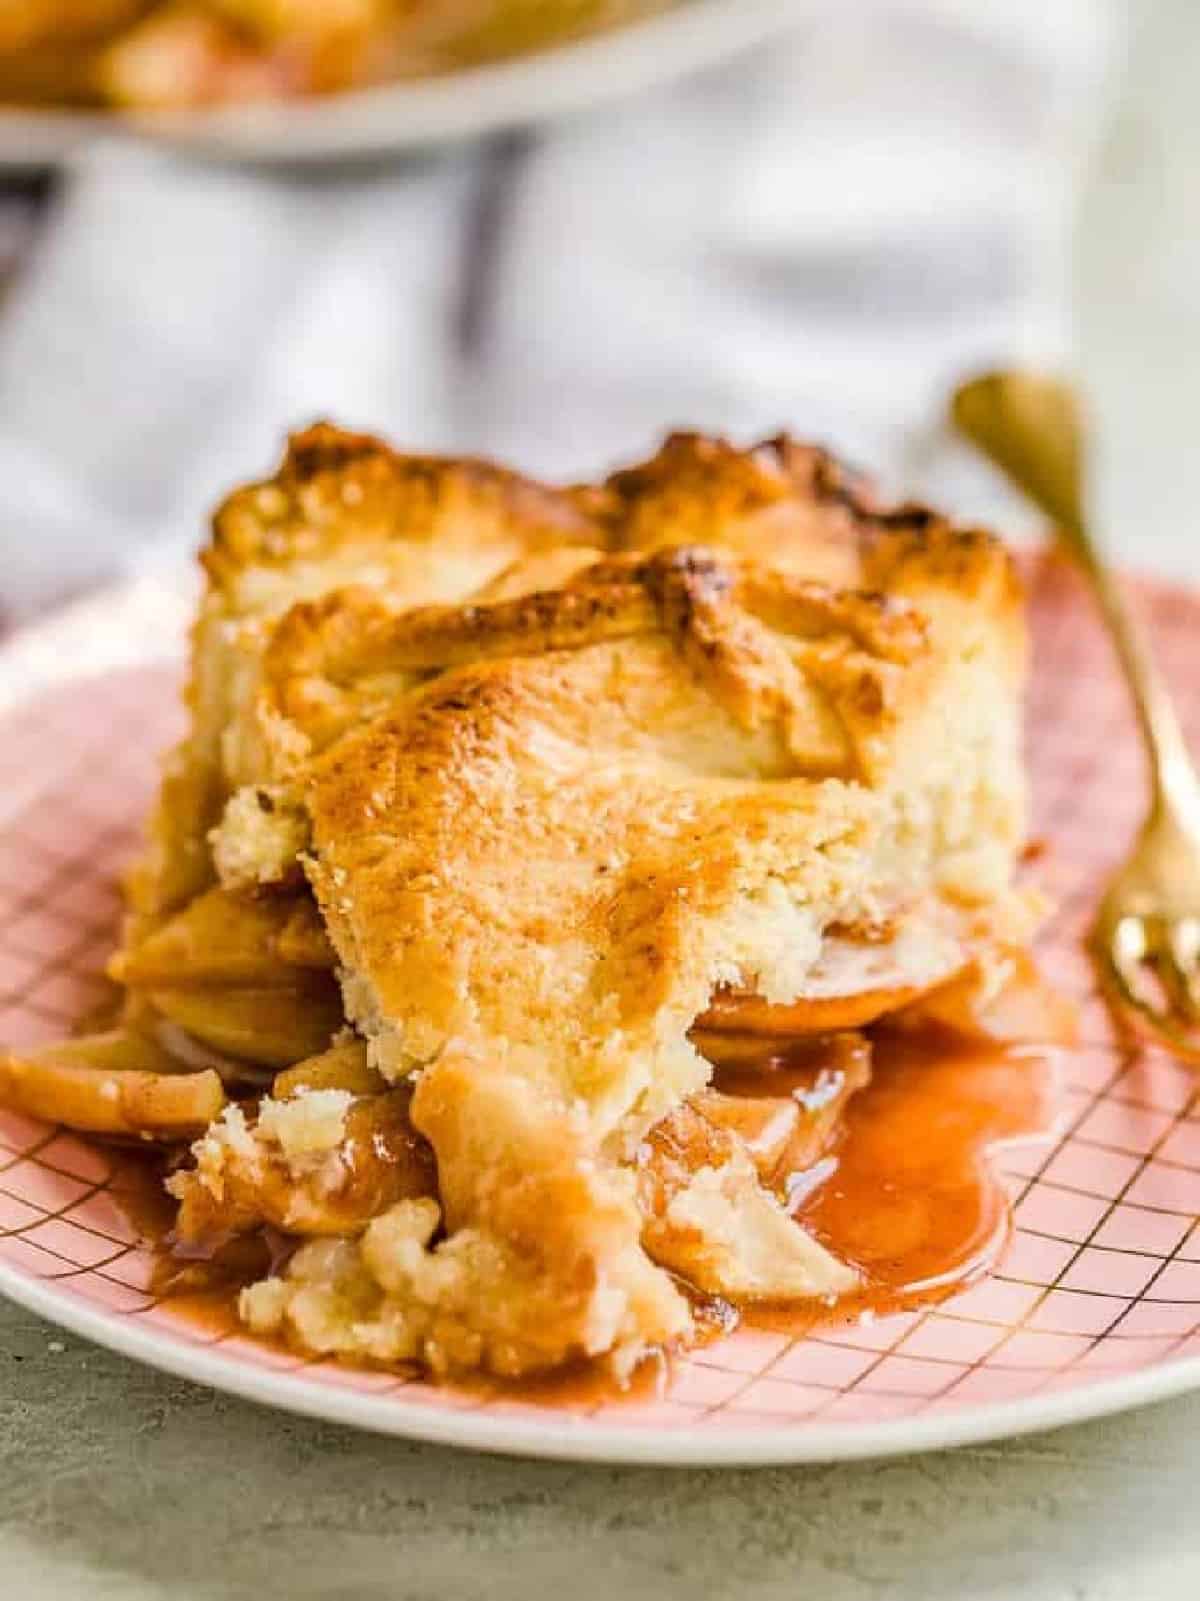
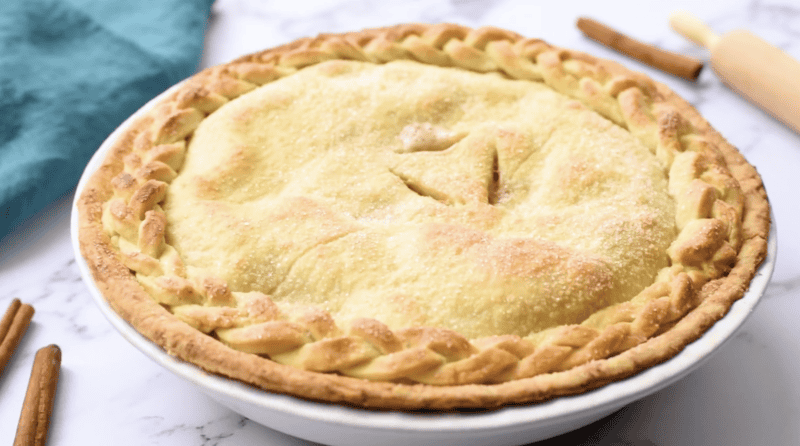
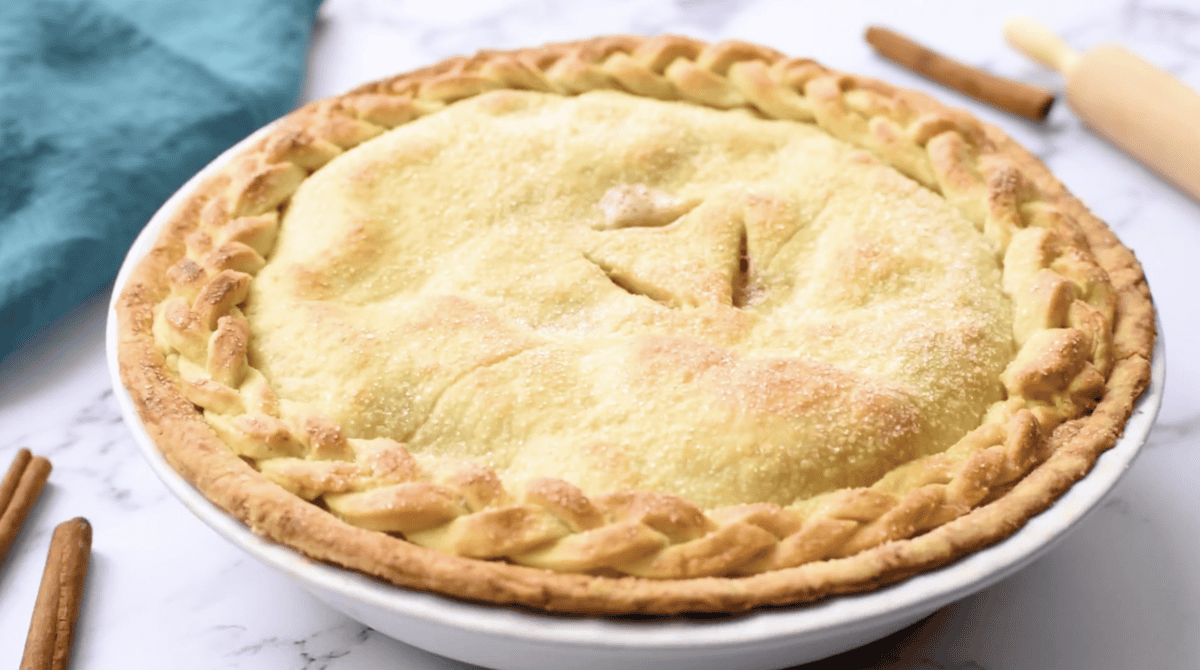
My sister-in-law, Anna, makes such good pies, and she was gracious enough to share her family’s apple pie recipe with me! With this homemade apple pie filling and pie crust, we’ve got one seriously fresh and delicious pie ready for the fall season. I can’t believe how easy it is, either!
Serving Suggestions
I like to serve this homemade apple pie with a scoop of vanilla or pumpkin pie cream and a dollop of whipped cream (or try my pumpkin spice whipped cream!). For a sweet-and-savory take, Pat likes to melt a slice of cheddar cheese on top! It will keep well in the fridge for up to 4 days or in the freezer for up to 3 months. Let thaw overnight in the refrigerator before enjoying cold, at room temperature, or sometimes gently warmed in the microwave.
How to Make Apple Pie Step by Step
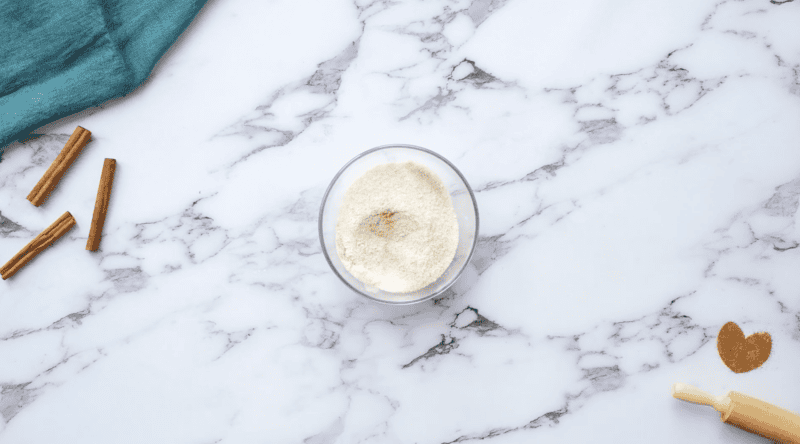
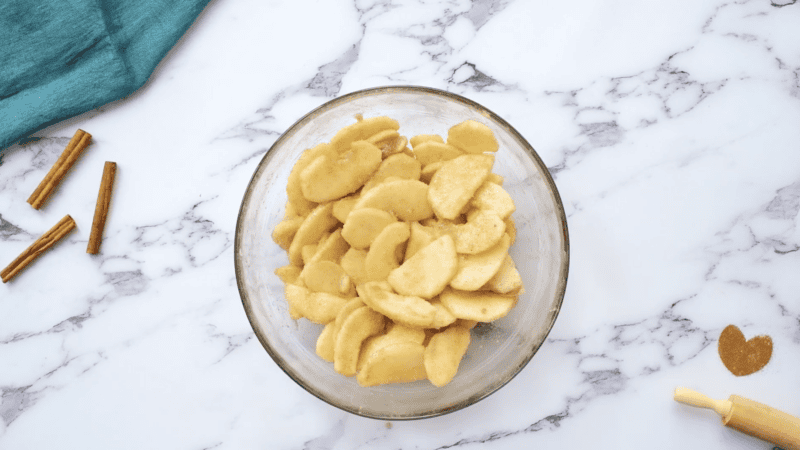
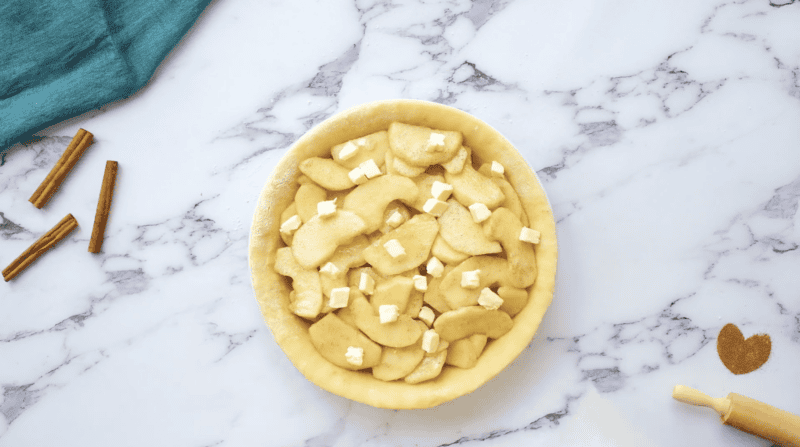
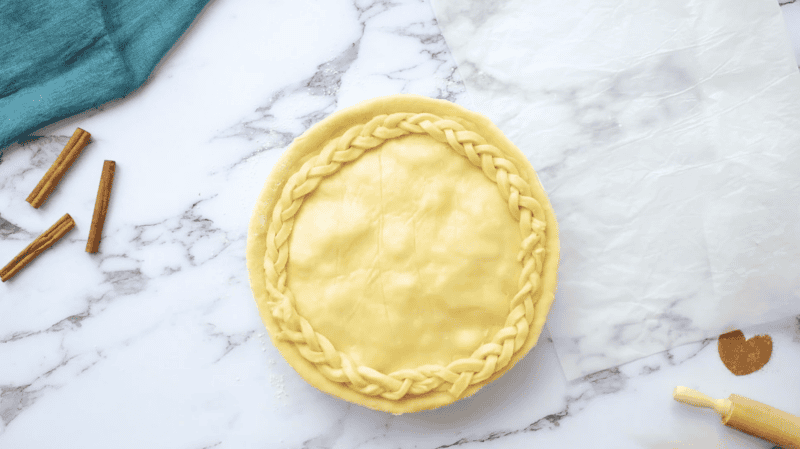
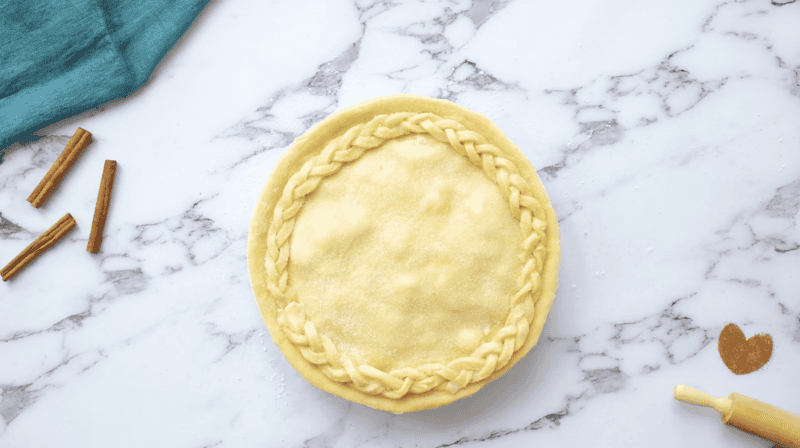
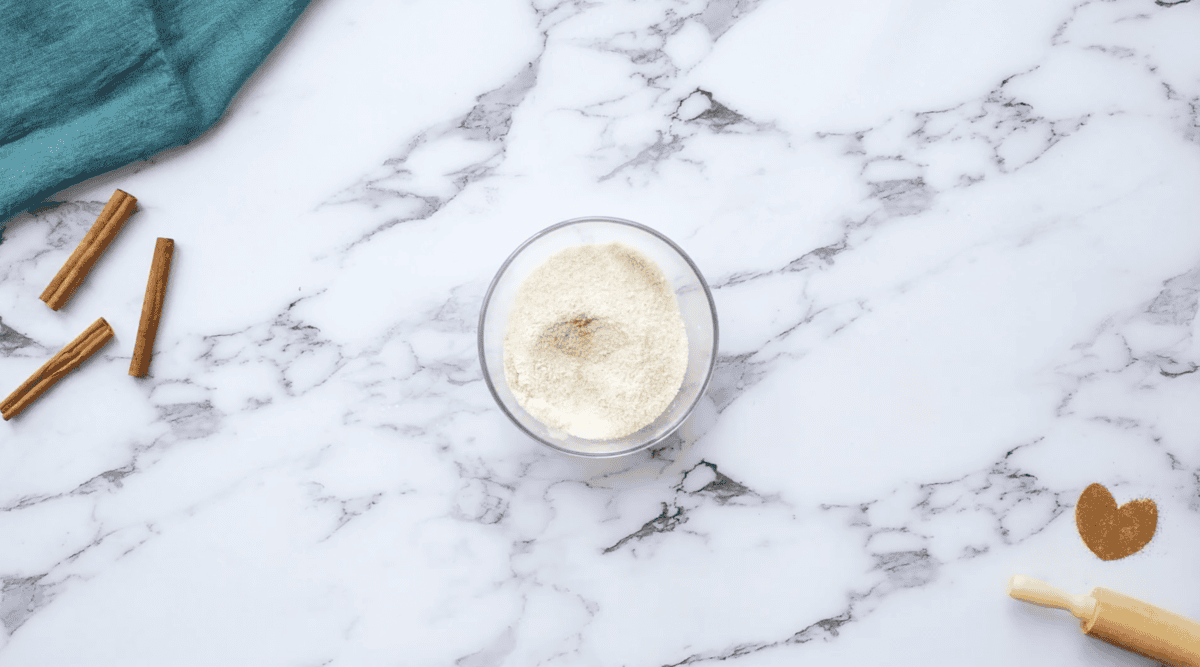
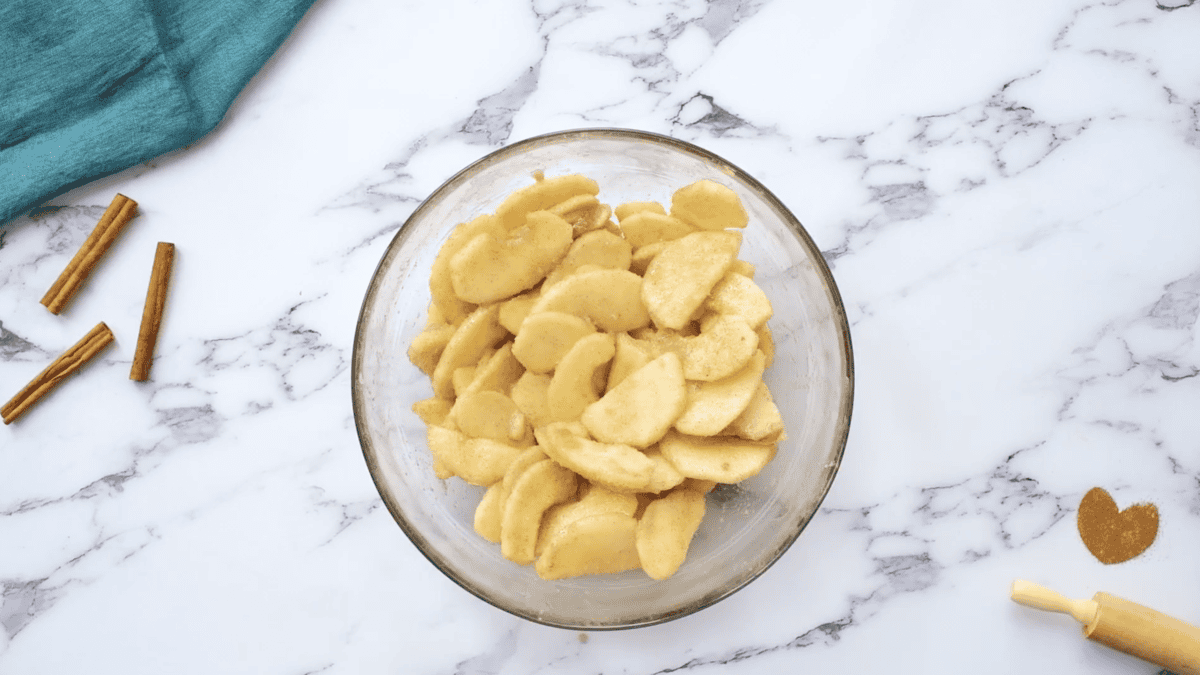
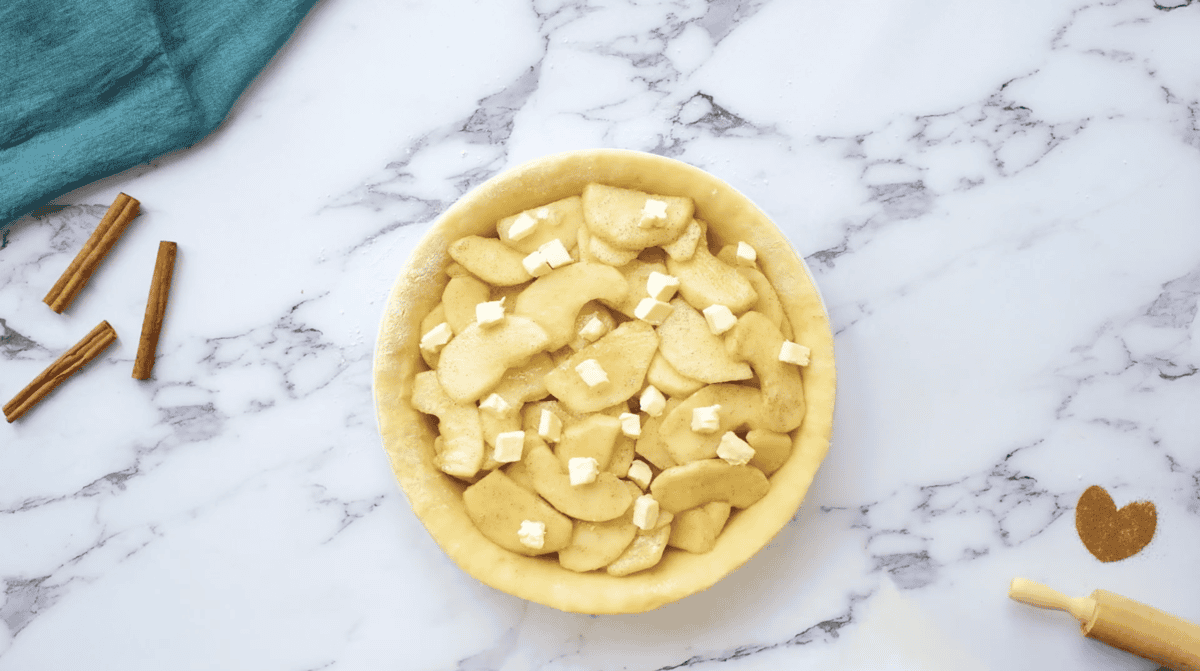
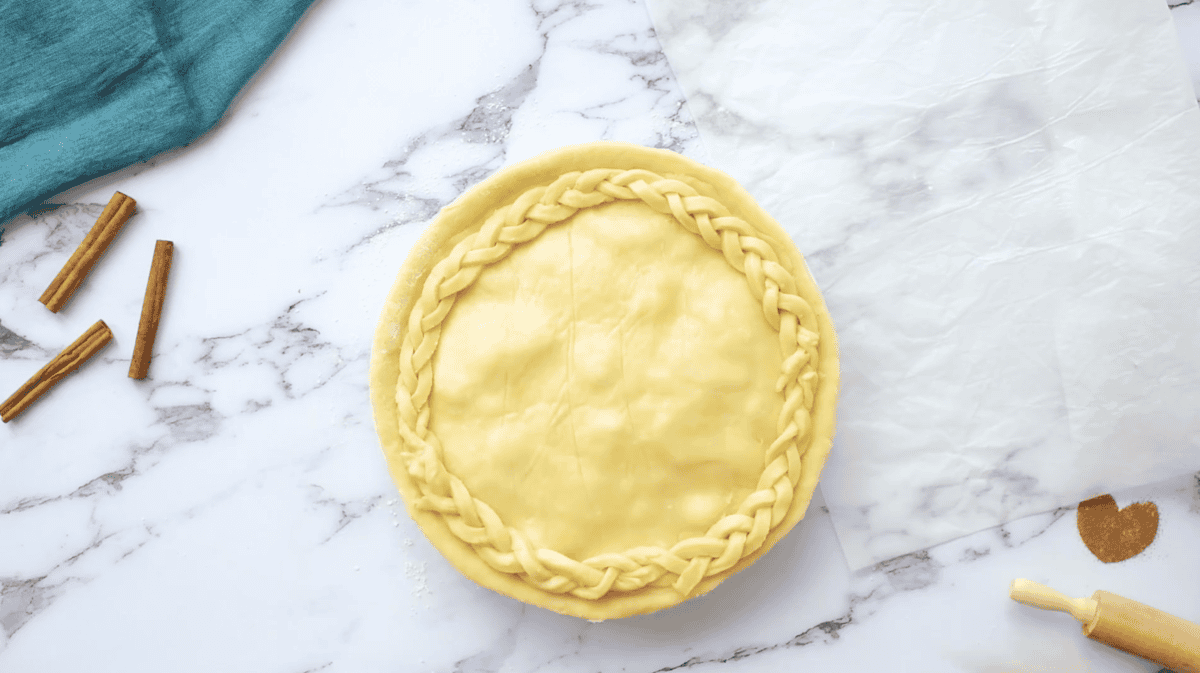
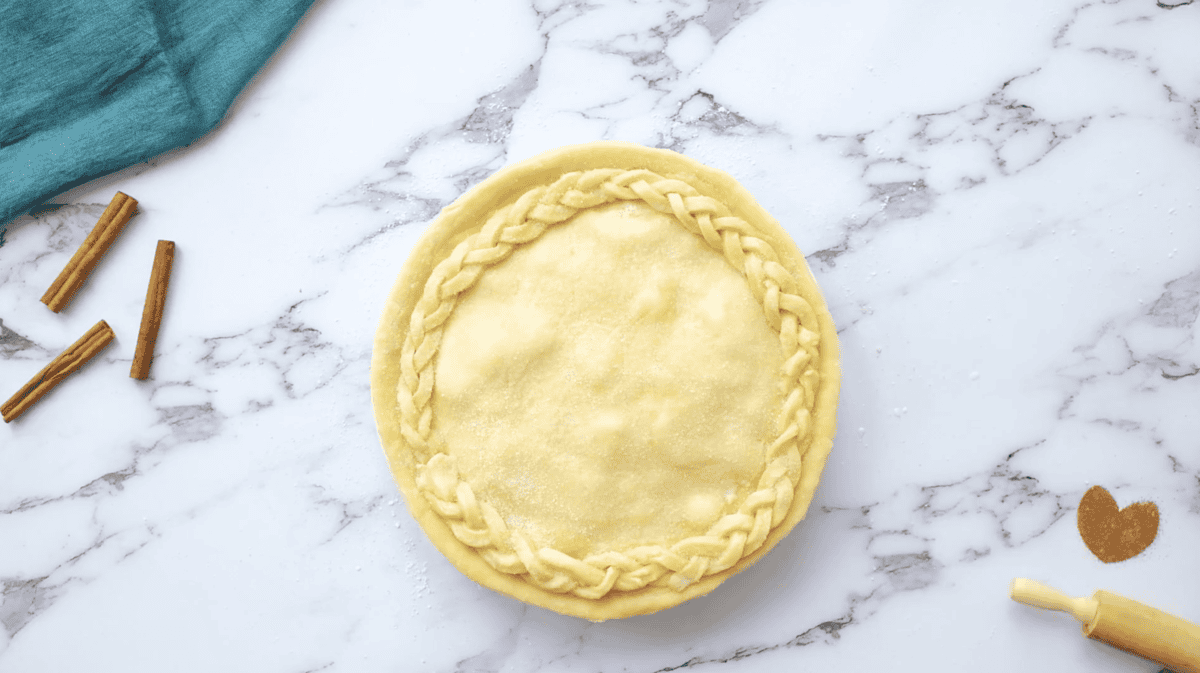
Mix the Cinnamon-Sugar: Preheat your oven to 400°F. Combine 1 cup of granulated sugar, 2 tablespoons of all-purpose flour, and 1 teaspoon of ground cinnamon in a large bowl until well mixed. Coat the Apples: Add 6-8 peeled and sliced apples, tossing until well coated (I used about 6 apples for my pie plate and only about ¾ of the sugar mixture). Fill the Pie Crust: Line a pie pan with 1 of 2 homemade pie crusts. Pour the sugar-coated apples into the pie pan. Dot with 2 tablespoons of cubed unsalted butter. Top the Pie: Place the second crust on top of apples and butter and seal. Cut a few slits for steam to escape on the top layer of crust. Sprinkle with Sugar: Spread a small amount of milk on top of the pastry (I use a fork; when I use a spoon the pastry gets soggy), then sprinkle the pie with some leftover sugar. This will give the pie a warm and brown look on top. Bake and Serve: Bake for 50 minutes. I would put a cookie sheet on a rack lower in the oven in case juices overflow your pie plate. Let the pie cool, then slice and serve.
